nightsky
Stunt Coordinator
- Joined
- Sep 30, 2010
- Messages
- 55
- Real Name
- Jeff
This is not a HT build... but a build of my little backyard office that I was inspired to build, after painting in, and talking with so many people who are building home theaters. I needed my office to have many of the same qualities that a theater room needs (quiet, quiet, quiet, with very few distractions).
While this is not a home theater build, it was inspired by many home theater builds... so I hope that this will be OK to post here.
Thanks for those of you who post information on your builds.... because those ideas carry over into other areas and rooms too. I've been inspired by so many builds... and I couldn't be happier with the way mine turned out.
Now, while this is in no way even close to what you guys do in your theaters... it is exactly what I needed for a place to work. Here are some pictures of the build from start to finish...
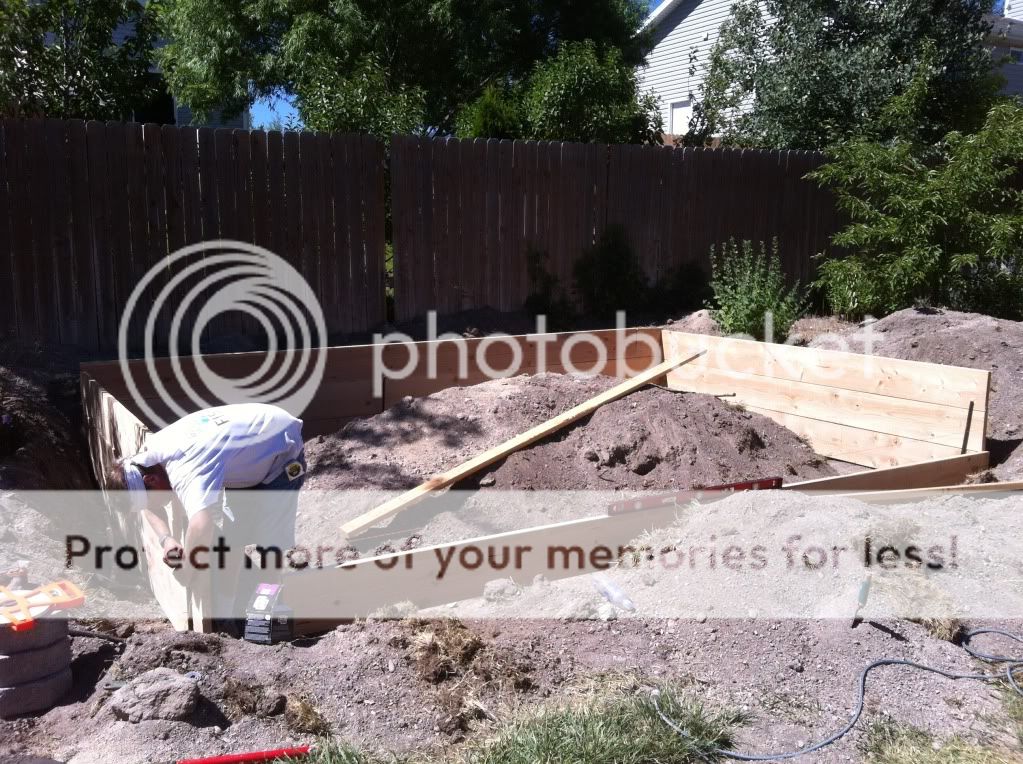
Beginning of project:

Putting up forms:
Digging trench for electrical:
Getting everyone involved in mixing and pouring concrete:
Letting it set:
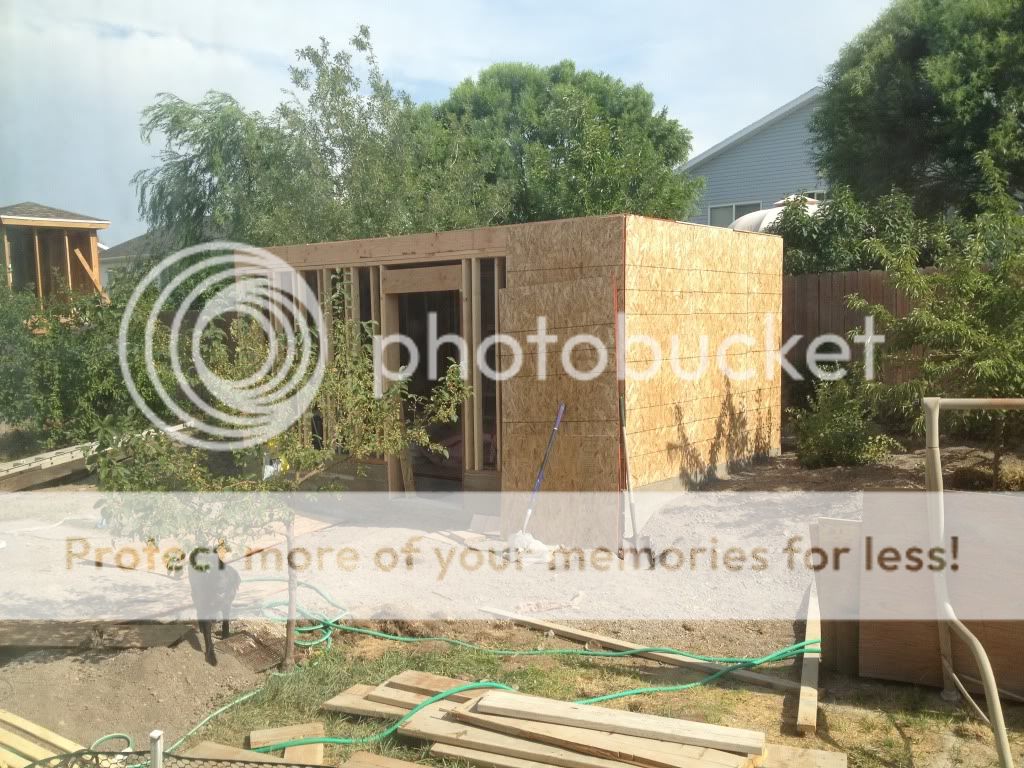
Up go the staggered-stud walls:
The outside OSB sheathing goes up:
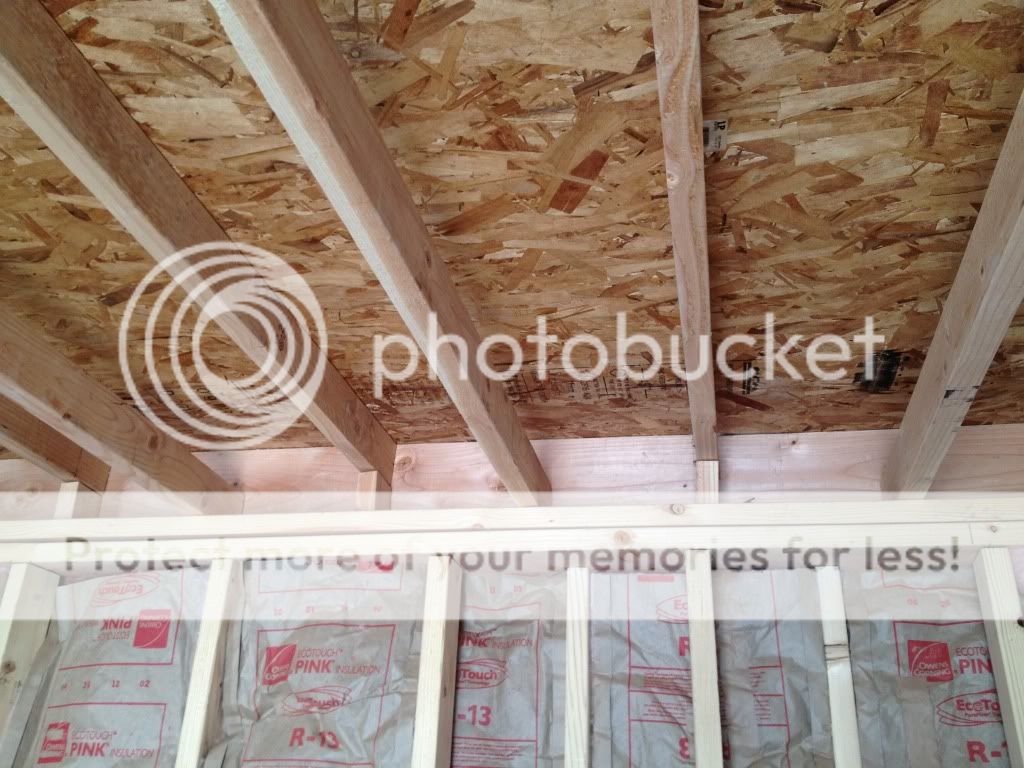
Insulation on the outside part of the staggered-studs goes up:
We decided to stagger the ceiling studs also with a layer of OSB on top:
Second layer of insulation in walls and ceiling go in, and an interior wall goes in to divide my office from a painting room:
Wiring goes in with extra outlets installed (I hate having to look for a place to plug things in) and then the first layer of the wall (OSB) goes up inside:
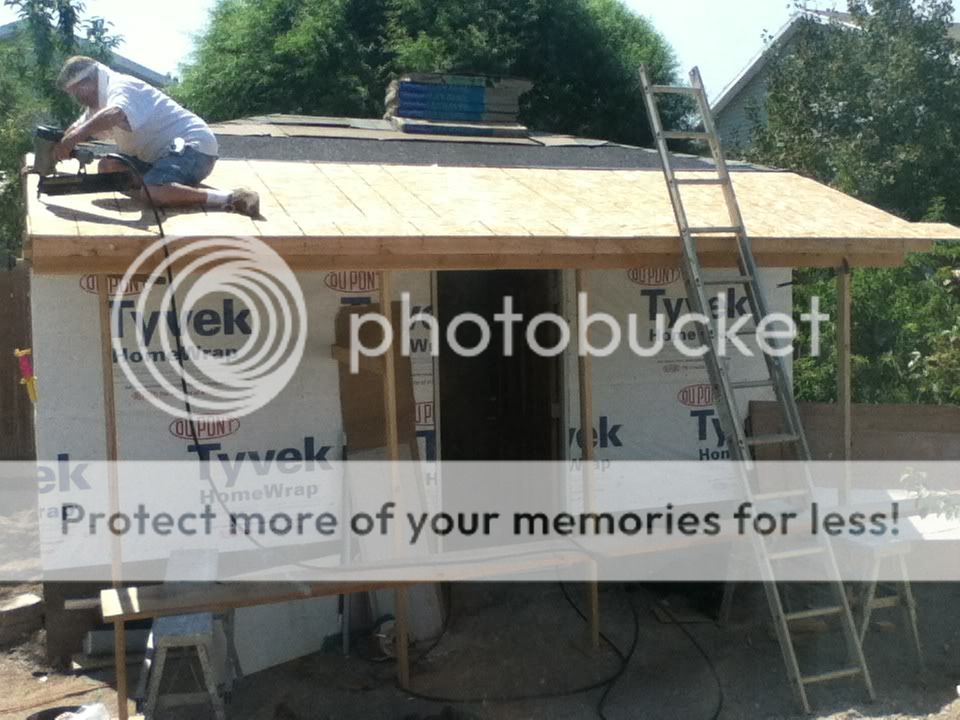
Time to put on the roof:
Wrapped the outside with Tyvek and then had the contractor add an overhang to the front:
...which of course is stuffed with more insulation:
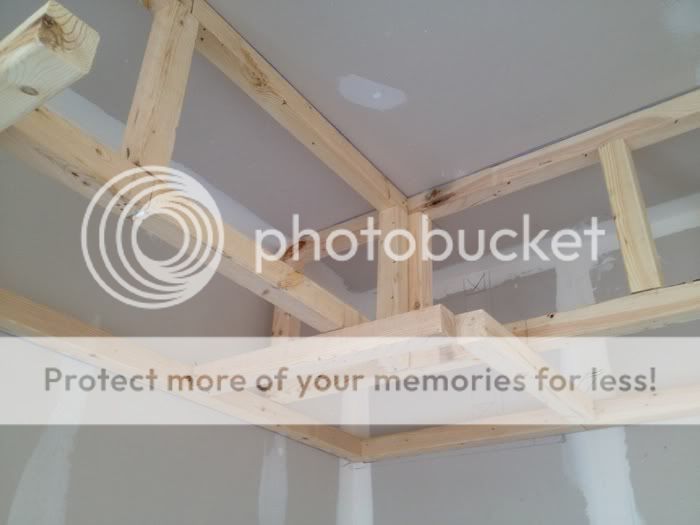
Back inside, the second interior layer (sheetrock this time) is up and the soffit is started:
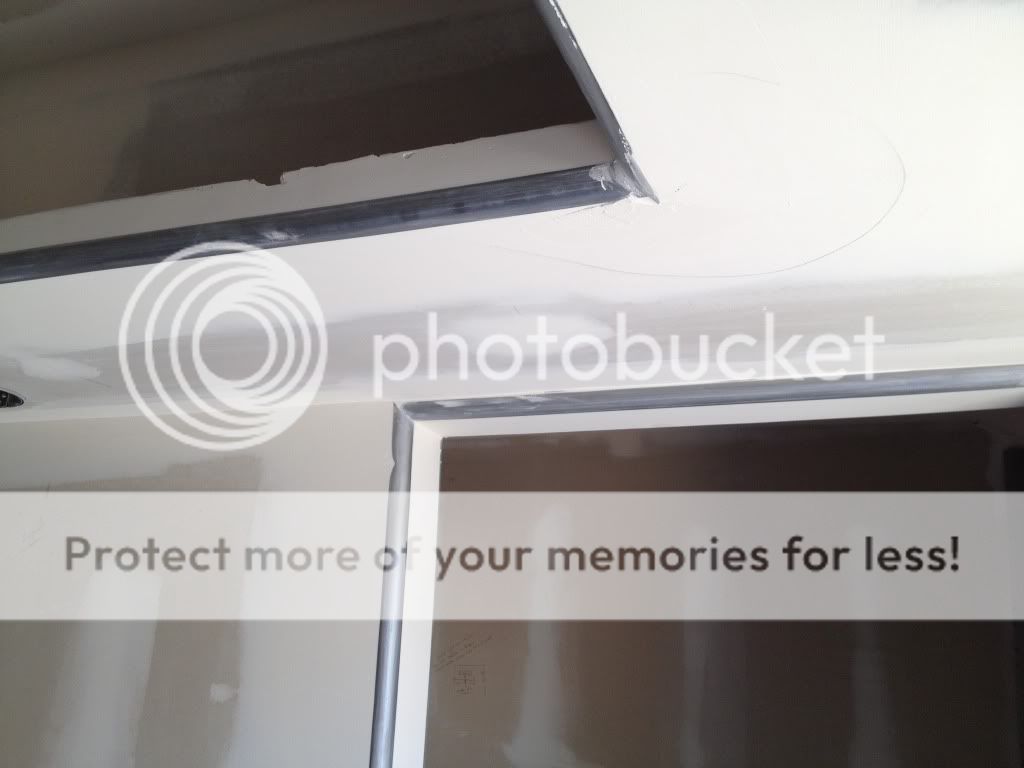
Lights and a bullnose edge are added to the soffit... then mud:
Door into my painting room also gets a bullnose edge:
Finally the primer and paint go on walls (It looks a lot bluer in this pic. than it really is):
Crown moulding and paint go on the ceiling:
Cloud ceiling is added to the painting room (I like the clouds in this room much better than in the office area... but, oh well. It's my first shot at it):
Clouds are added to the office area:
Testing a strand of $4 rope lights I stumbled on at a thrift store;
Then, the last thing to go on the inside is the night sky. If you look closely, you can see the illusion of beams that I created around the outside edge (where the ceiling and side wall meet, and also in each corner, and in the center of each wall)
While this is not a home theater build, it was inspired by many home theater builds... so I hope that this will be OK to post here.
Thanks for those of you who post information on your builds.... because those ideas carry over into other areas and rooms too. I've been inspired by so many builds... and I couldn't be happier with the way mine turned out.
Now, while this is in no way even close to what you guys do in your theaters... it is exactly what I needed for a place to work. Here are some pictures of the build from start to finish...
Beginning of project:

Putting up forms:

Digging trench for electrical:

Getting everyone involved in mixing and pouring concrete:

Letting it set:

Up go the staggered-stud walls:


The outside OSB sheathing goes up:
Insulation on the outside part of the staggered-studs goes up:


We decided to stagger the ceiling studs also with a layer of OSB on top:
Second layer of insulation in walls and ceiling go in, and an interior wall goes in to divide my office from a painting room:

Wiring goes in with extra outlets installed (I hate having to look for a place to plug things in) and then the first layer of the wall (OSB) goes up inside:

Time to put on the roof:

Wrapped the outside with Tyvek and then had the contractor add an overhang to the front:
...which of course is stuffed with more insulation:

Back inside, the second interior layer (sheetrock this time) is up and the soffit is started:

Lights and a bullnose edge are added to the soffit... then mud:


Door into my painting room also gets a bullnose edge:
Finally the primer and paint go on walls (It looks a lot bluer in this pic. than it really is):

Crown moulding and paint go on the ceiling:

Cloud ceiling is added to the painting room (I like the clouds in this room much better than in the office area... but, oh well. It's my first shot at it):

Clouds are added to the office area:

Testing a strand of $4 rope lights I stumbled on at a thrift store;

Then, the last thing to go on the inside is the night sky. If you look closely, you can see the illusion of beams that I created around the outside edge (where the ceiling and side wall meet, and also in each corner, and in the center of each wall)