- Joined
- Jul 3, 1997
- Messages
- 66,776
- Real Name
- Ronald Epstein


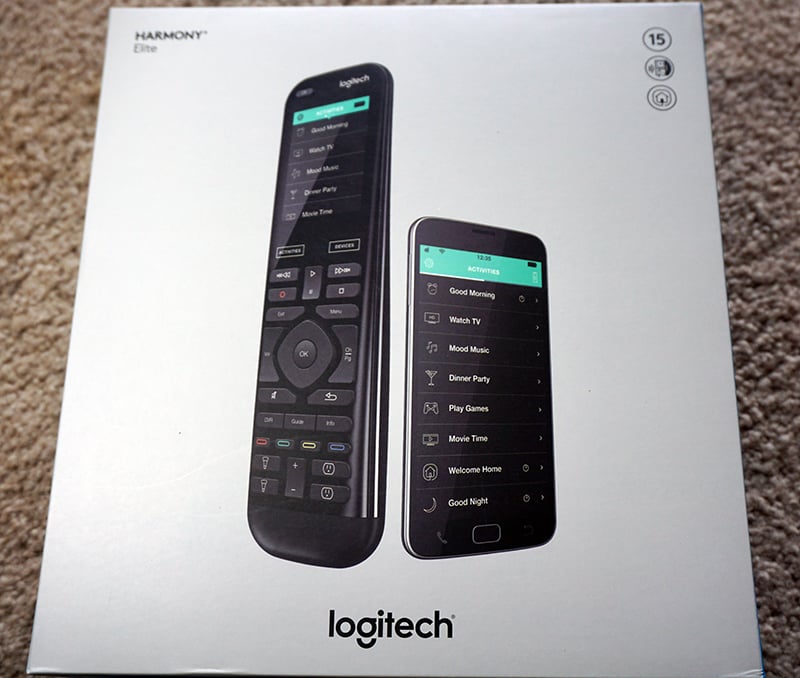
Harmony Elite
Advanced Universal Remote Control, Hub, and App
"There can be little argument that Logitech's Harmony Elite is the brand's best and most elaborate remote to date"
I usually begin these reviews by talking a bit about my love for Logitech remotes. I have been reviewing Logitech remotes for over 6 years now starting with the Harmony One and just about every product that has been released since. I was using these remotes before most people even knew about them. I have bought them as gifts for friends and family. Everyone I know that owns a Logitech remote has been amazed by its simplicity to program and operate.
Logitech has just introduced its newest remote to its Harmony line. The Logitech Harmony Elite advanced universal remote is certainly not revolutionary to what has come before it, but does address some shortcomings that were absent from its Harmony Ultimate that was released in 2013.
In this review I am going to be doing a lot of comparing between the Harmony Elite and the Harmony Ultimate. Truth be, both these remotes are the very best in their class and represent the pinnacle of what Logitech presently offers in their remote line. In both software and functionality, these remotes pretty much operate in similar fashion. The differences between both models lie mostly in hardware revisions. With an approximate $100 difference in price between the Elite and Ultimate, I would suspect most readers would want to know what they gain by purchasing the more expensive remote.
Let me begin by talking about the new Harmony Elite...
OUT OF THE BOX


The Logitech Harmony Elite remote arrives boxed with companion hub, charging station, USB cable, two power adapters and two IR blasters. It is recommended that you immediately put the remote into its power cradle to give it a full charge prior to programming and usage.
Using the time it takes to initially charge your remote, I would recommend taking a piece of paper and doing the following...
* Write down the brand and model number of every component in your home theater system. This includes your display, receiver, Blu-ray/DVD players, satellite box and streaming player.
* Make note of each device's connection to the display and the receiver. For instance, which HDMI input is being used by each component when going to the receiver or display?
Taking these notes in advance will ensure a quick and painless setup. In fact, if there are no hiccups along the way, initial setup could take under 15 minutes.
SETUP

Not the most flattering photo, I admit, but at the heart of the system lies the Harmony Hub. It will be the first thing you power up when setting up your device. In short, the hub receives commands, wirelessly, via RF signals from the Harmony remote. The hub, in turn, generates the proper IR or bluetooth signals to control the home theater components in your home. The hub does not need to be in direct line of sight, so it can be placed practically anywhere in your room. I placed my hub on my rack system and I still needed to place two IR blasters beneath my receiver and my Tivo unit as they were not receiving commands. I would have loved to see more than two IR blaster inputs provided, but realize the importance of keeping the hub compact.


The easiest way to begin programming your remote is to obtain the MyHarmony computer application for Windows or Mac. It can be downloaded from: https://setup.
") Eight years later, I'm open to an upgrade. Actually I was interested in 2013, but the Ultimate didn't impress.
Eight years later, I'm open to an upgrade. Actually I was interested in 2013, but the Ultimate didn't impress. 


