Behind the Mask: Aspect Ratio Solutions for Projectors and Screens

projector screen aspect ratio education

One of the challenges of owning a dedicated home theater room with projector and screen is how to manage all the various aspect ratios of your content. Many Blu-ray discs and streamed movies include films presented in their original theatrical aspect ratios ranging from, for example, the almost square 1.19:1 dimensions of The Lighthouse (2019) to the expansively wide 2.76:1 vista of Ben-Hur (1959). If those dimensions can be framed within a black light-absorbent border, then the projected image can exhibit improved contrast and better black levels. You will also have a chance to wow your audience with that extra layer of professionalism on movie night. Most casual moviegoers and, surprisingly, some seasoned film experts have limited understanding of the mechanics of aspect ratios.

Many of the home theater screen manufacturers, including Stewart Filmscreen, Carada and Da-Lite, produce attractive motorised masking systems with electronic presets for 2.40:1, 1.85:1, 1.78:1 and 1.37:1, as well as full control of customized settings beyond. Some products mask vertically (top and bottom), and others, horizontally (from the sides), but usually with velour or light-absorbent black panels. However, as many of you will know, such systems can also be extremely heavy on the wallet, and consequently some hobbyists decide to build their own DIY motorized systems as a result.

Obviously, there is little scope for flexibility when manipulating aspect ratios if you only have a flat panel display in your chief AV room, as your set is confined by its in-built dimensions. Therefore, using a zoom control if available (losing the sides, or tops and bottoms of the image), or displaying black bars, are your only options, and neither is truly satisfactory.

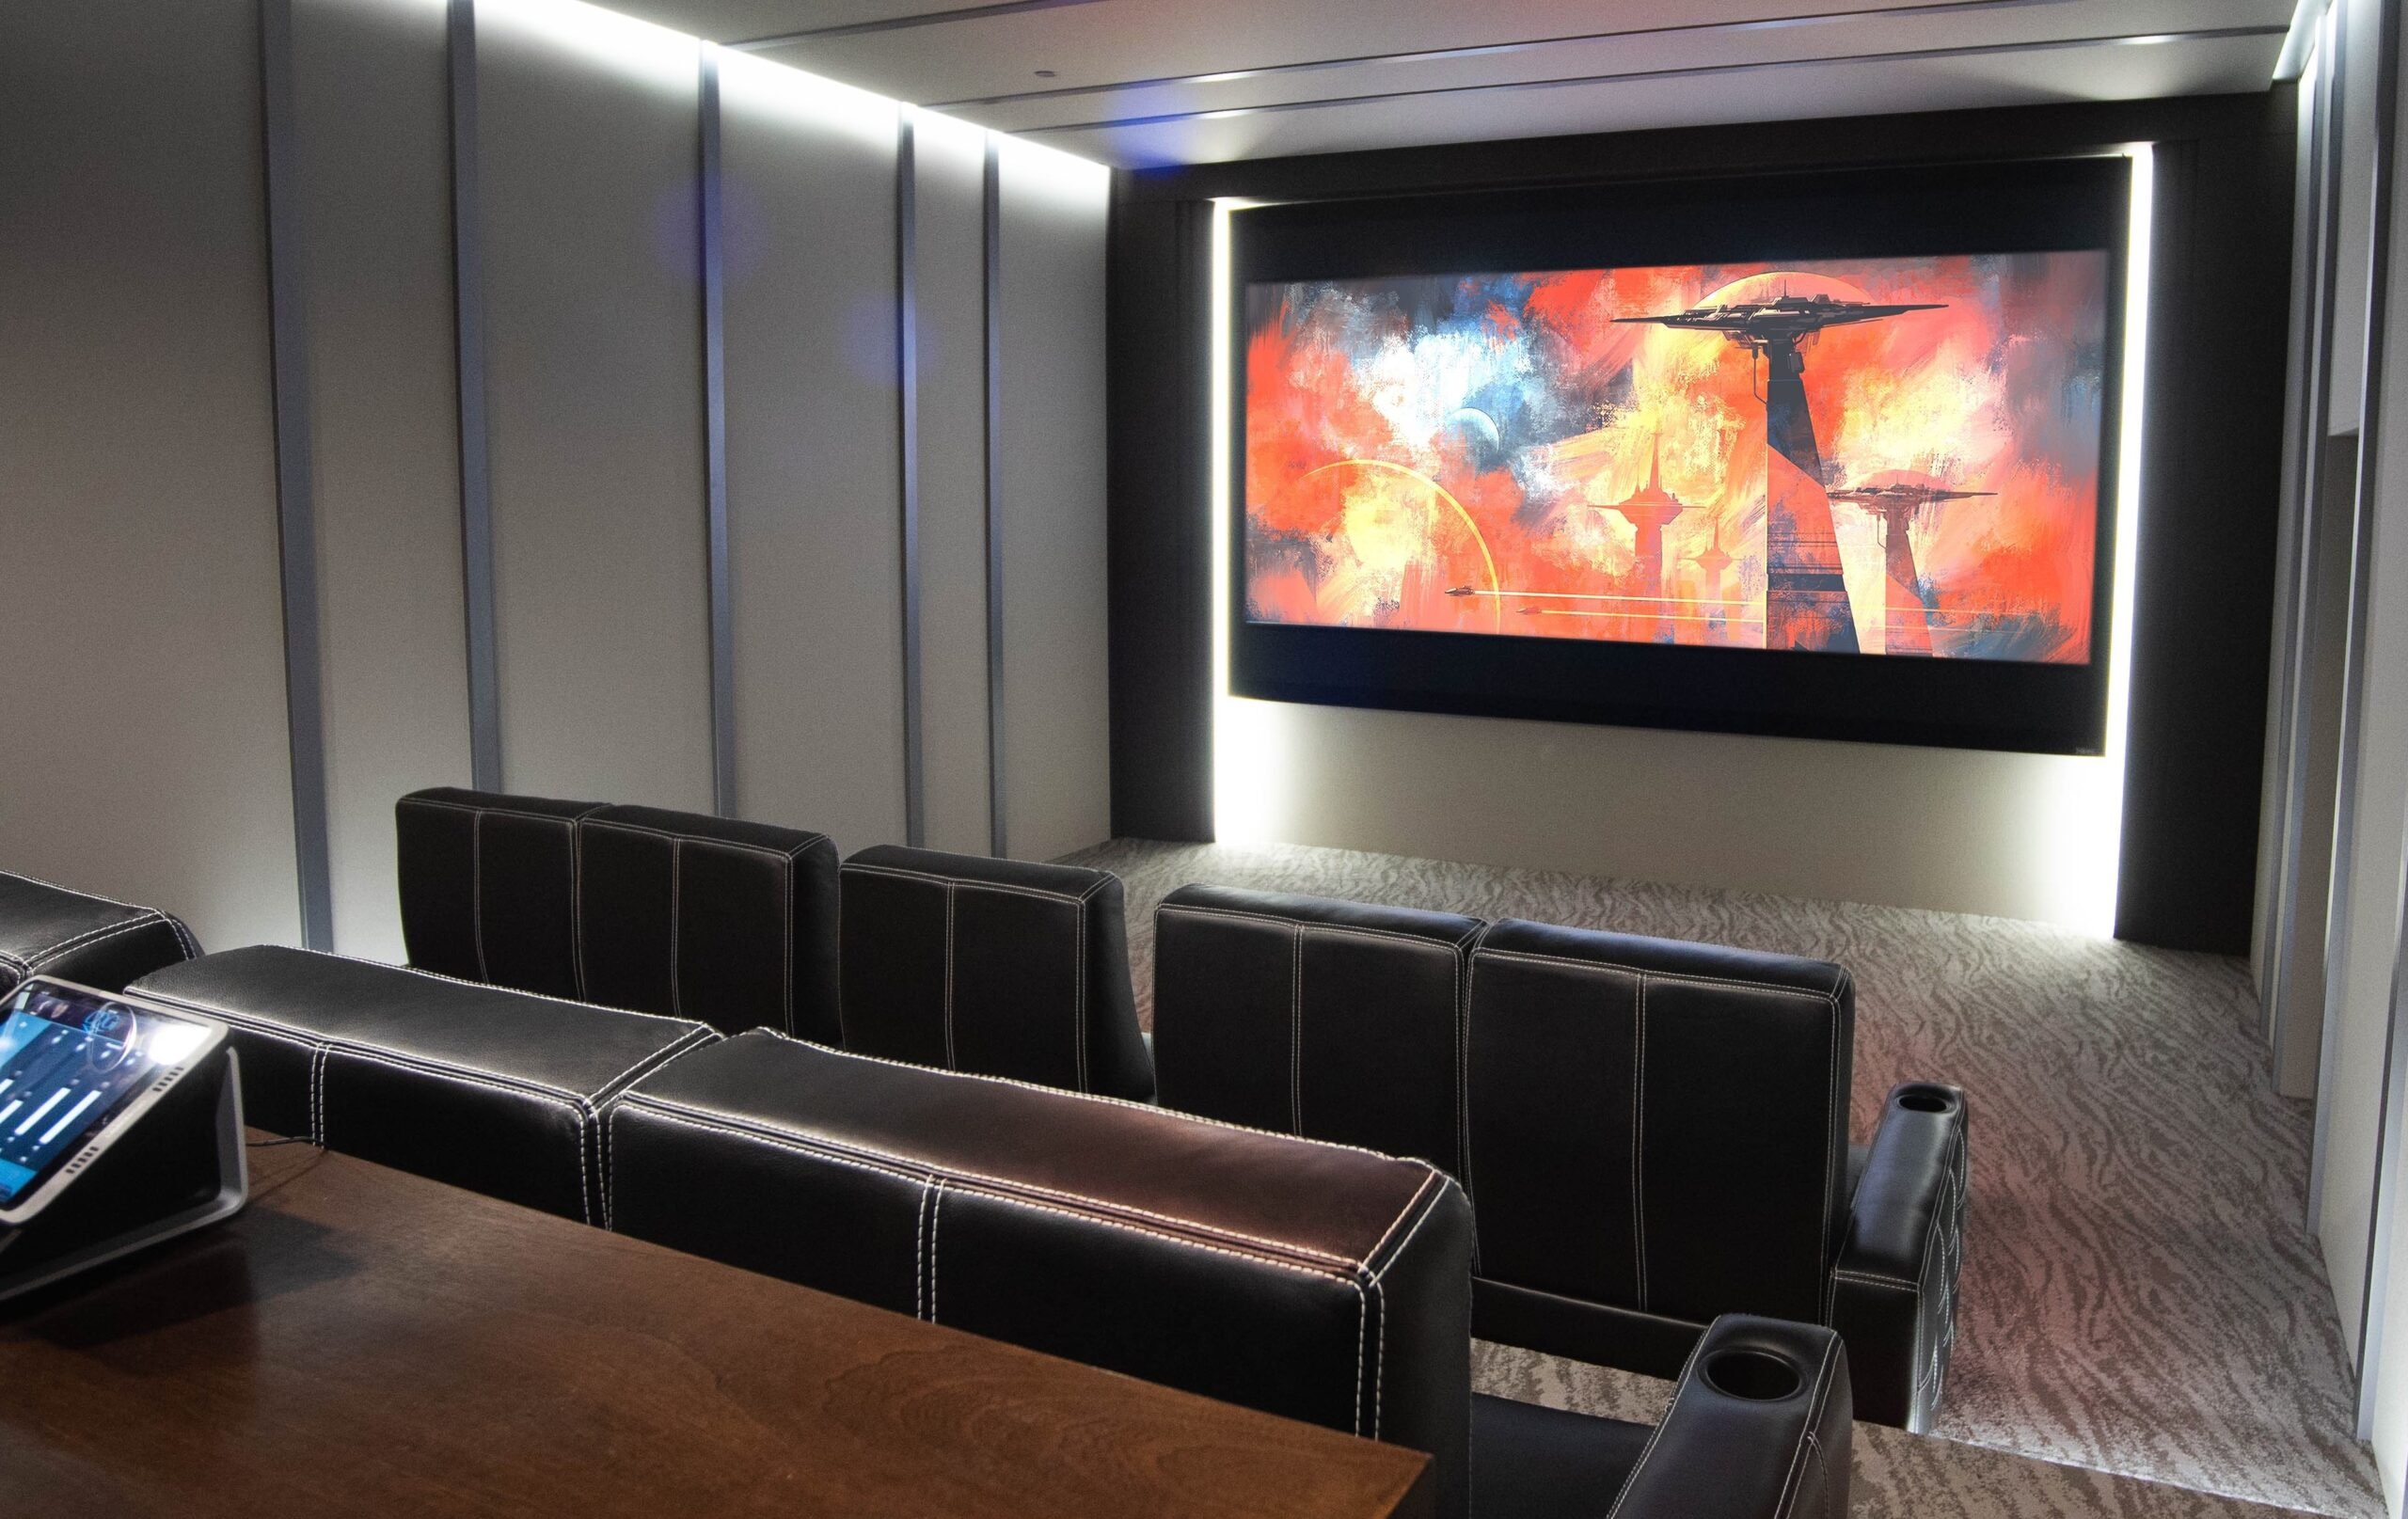
While most home theater hobbyists, for practical purposes, opt for 16:9 fixed frame or drop-down screens, arguably the most impressive way to present Blu-ray or streamed content is with a native 2.35:1 or 2.40:1 screen to enable CIH (constant image height) presentation. This will mean that your cinema is maximized for presenting CinemaScope content. There are two ways to fill up your entire screen area for such titles: by zooming manually (or with lens memory), or using an anamorphic lens. The first method involves adjusting the zoom function on your projector – assuming you have already accurately calculated your throw distance parameters – and pausing a Blu-ray disc on a full, bright 2.35:1 image, then gently nudging the lens control until the borders of the picture bleed slightly over the black perimeters on all sides of the screen. Although this is the cheaper method of the two, the disadvantage here is that you aren’t using the full brightness capabilities of your projector with some its light output within the black bars wasted off-screen. Furthermore, in a 1080p world you’re only getting about 800 lines of vertical resolution and 1600 lines from 4K content, simply because most 2.35 and 2.40 Blu-ray titles are masked during the mastering process. You will also need to zoom back in manually, or with your lens memory function, to revert to 16:9 content.

The second, and obviously more expensive method, is to purchase an anamorphic lens. There are motorised and non-motorised versions available from companies such as Schneider Optics and Panamorph. The function of these devices is to take a 16:9 image and ‘unsqueeze’ it to fill a 2.35:1 or 2.40:1 screen, with the added advantage of using every pixel of the 1920 x 1080 or 3840 x 2160 optical panel in your projector. You will also need a projector or connected video processor with an anamorphic function i.e. one which can electronically interpolate and create a ‘squeezed’ 16:9 source image by literally stretching it in the vertical plain. The added vertical resolution achieved with an anamorphic lens adds dimension and detail to the picture, and should reduce the possibility of the audience detecting pixel structure. You also benefit from the corresponding added brightness of the image as a direct result of using all available pixels. The cost, however, can be prohibitive, with many of the lenses sitting at around the same price point as a good projector, and the setup can be painstaking in order to avoid undesired optical effects such as pin cushioning and other artefacts. Particular attention also needs to be paid to the throw specifications of the lens before ordering. Cheaper fixed, non-motorised anamorphic lenses require that you watch standard 16:9 content with a corresponding reduction in resolution, so it’s good to be aware of that downside too.

projector screen aspect ratio 1:2.35

projector screen aspect ratio 2.35:1

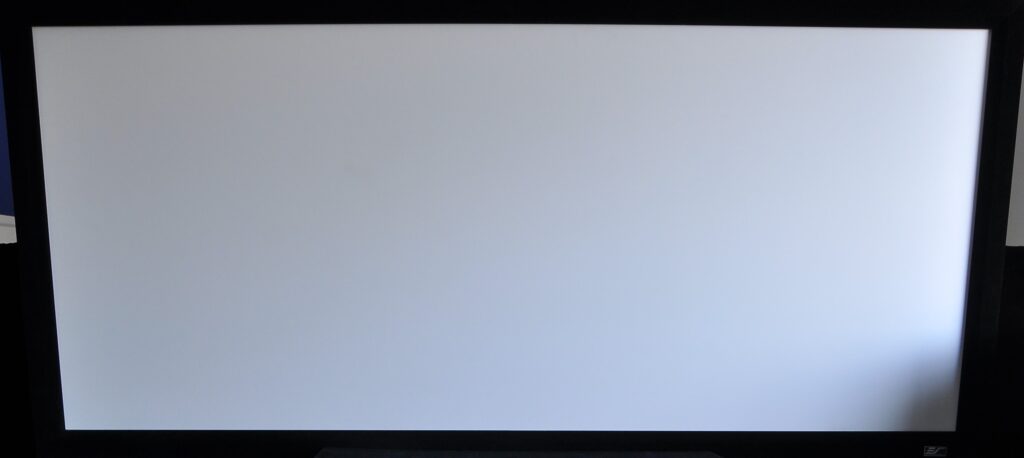
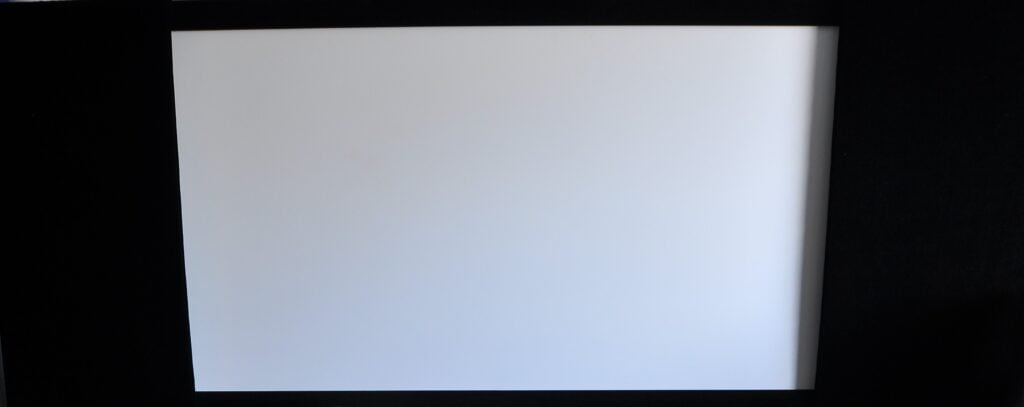
Moveable homemade velour panels for manual masking of 2.35:1 native screen (pics taken with fisheye lens!)

One cheap solution to projection screen side masking for a 2.35 or 2.40 fixed frame screen is to purchase a couple of large ½ inch rigid foam insulation panels from a hardware store like Home Depot, and cut them to the height of your projection screen border. Keep the factory cut sides free for image framing duties on either side of the screen. Cover and wrap both panels with black velour material, sourced from a fabric or craft store, making sure that the framing edge is pulled taut for a precisely square boundary, and use a staple gun and double-sided industrial tape to fix the material on the rear-facing sides. Black velcro squares can then be attached to the corners of the rear-facing sides of the panels, with strips of black Velcro then attached to the black steel fixed frame of your screen. Use the projected test pattern built into your projector, and the source disc material of the intended aspect ratio, to make sure that the placement of your panels onto the frame is accurate for your movie show. This last step takes a few minutes to get right, as you will be doing it mostly by eye, so the only limiting factor with this method is that you can’t realistically change aspect ratios midway through a show. It works extraordinarily well, producing a clean black border, even though the panels are not flush with the screen material, but an inch or so from it. Whether projecting 2.20, 1.85, 1.78 or 1.37 content, you have absolute control over the final look, and your little DIY job should only cost you about $40. The same method can be applied for top and bottom masking panels on a 16:9-shaped screen.

Have any of our members created their own DIY masking solution? Please add your comments below…

Martin, a seasoned journalist and AV expert, has written for several notable print magazines. He’s served in key roles at Lucasfilm’s THX Division, NEC’s digital cinema division, and has even consulted for DreamWorks. Despite his illustrious career, Martin remains rooted in his passion for cinema and acting, with notable appearances in several Spielberg films, Doctor Who, and Star Wars: The Empire Strikes Back. He currently resides in San Francisco.

Post Disclaimer

Some of our content may contain marketing links, which means we will receive a commission for purchases made via those links. In our editorial content, these affiliate links appear automatically, and our editorial teams are not influenced by our affiliate partnerships. We work with several providers (currently Skimlinks and Amazon) to manage our affiliate relationships. You can find out more about their services by visiting their sites.

Share this post:

View thread (40 replies)

ArnoldLayne

Premium
Joined
Aug 13, 2013
Messages
262
Real Name
Chris
How can you use an anamorphic lens to get more resolution from a BD, in which the image always non-anamorphic?
I do use your solution for side masking of my 16:9 screen. For widescreen presentation, I move the image to the top of the screen with the motorized lens preset, then need to only mask the lower screen- and the solid masking piece can be narrower than the gap to mask, with loose material hanging... easy and quick. This shows the side panel scheme: https://www.blu-ray.com/community/gallery.php?member=ArnoldLayne56&folderid=9031
 

John Dirk

Premium
Ambassador
HW Reviewer
Senior HTF Member
Joined
May 7, 2000
Messages
6,744
Location
ATL
Real Name
JOHN
Fascinating read, Martin. I'm one of those enthusiasts who is woefully under educated on aspect ratios as they apply to film. I use an Elite Screens borderless 16x9 screen. My projector has excellent lens memory features. Sometimes I bother with it but most of the time I just sit back and enjoy whatever native image I am presented with.
 

Martin Dew

HTF News Editor
Reviewer
HW Reviewer
Joined
Nov 1, 2017
Messages
1,164
Location
United Kingdom
Real Name
Martin Dew
How can you use an anamorphic lens to get more resolution from a BD, in which the image always non-anamorphic?

Projectors and processors by several manufacturers including Epson, Sony and Lumagen include an anamorphic function for 2.35/2.4 content whereby they literally stretch a native image electronically in the vertical plain to use up all the pixels on the optical chip in the projector. The image is then stretched horizontally by the anamorphic lens. The advantage is that you achieve improved brightness and perceive higher resolution on scope content.
 

Sam Posten

Moderator
Premium
HW Reviewer
Senior HTF Member
Joined
Oct 30, 1997
Messages
33,713
Location
Aberdeen, MD & Navesink, NJ
Real Name
Sam Posten
Projectors and processors by several manufacturers including Epson, Sony and Lumagen include an anamorphic function for 2.35/2.4 content whereby they literally stretch a native image electronically in the vertical plain to use up all the pixels on the optical chip in the projector. The image is then stretched horizontally by the anamorphic lens. The advantage is that you achieve improved brightness and perceive higher resolution on scope content.

But you don't actually get more content pixels. This is part of the description that is so confounding. Yes, you are using all of your projector's pixels but you don't magically get more information out of the original.
 

John Dirk

Premium
Ambassador
HW Reviewer
Senior HTF Member
Joined
May 7, 2000
Messages
6,744
Location
ATL
Real Name
JOHN
I'm happy to learn I am not the only one confused by this topic. My projector has the anamorphic function but I do not posses the requisite add-on lens. When I select Anamorphic for 2.35:1 source material the vertical stretch is nice but appears somewhat unnatural.

The image is then stretched horizontally by the anamorphic lens.

...But this is the part of the process that confuses me. Why would there be a need for any additional horizontal stretch when viewing 2.35:1 content on a 16:9 screen?
 

Worth

Senior HTF Member
Joined
Jul 17, 2009
Messages
5,248
Real Name
Nick Dobbs
...But this is the part of the process that confuses me. Why would there be a need for any additional horizontal stretch when viewing 2.35:1 content on a 16:9 screen?
It's not for 16:9 screens - it's so that 2.35 content is the same height as everything else on a 2.35 screen. In this set-up, 'scope films fill the screen, while everything else is narrower, versus a traditional set-up, where 16:9 material fills the screen, but anything wider is actually shorter.
 

Martin Dew

HTF News Editor
Reviewer
HW Reviewer
Joined
Nov 1, 2017
Messages
1,164
Location
United Kingdom
Real Name
Martin Dew
But you don't actually get more content pixels. This is part of the description that is so confounding. Yes, you are using all of your projector's pixels but you don't magically get more information out of the original.

Correct. I didn't say you get more information, simply that you're using all the pixels available.
 
  • Like
Reactions: PMF

ManW_TheUncool

His Own Fool
Premium
Senior HTF Member
Joined
Aug 18, 2001
Messages
11,948
Location
The BK
Real Name
ManW
Fascinating read, Martin. I'm one of those enthusiasts who is woefully under educated on aspect ratios as they apply to film. I use an Elite Screens borderless 16x9 screen. My projector has excellent lens memory features. Sometimes I bother with it but most of the time I just sit back and enjoy whatever native image I am presented with.

Now that I finally have such an equipped FP (ie. Epson 5050UB) and planning a dedicated HT room, I might finally go w/ a 2.35:1 screen.

Thing is that doesn't work so well for IMAX format movies though. And not sure what to do w/ the rare ultrawide ones like Ben Hur and Hateful Eight -- I suppose that's rare enough to just accept the smaller (still) letterbox image. But seems like there may be more and more IMAX format movies that deserve a bigger presentation (whether they involve changing AR or not).

My projector has the anamorphic function but I do not posses the requisite add-on lens. When I select Anamorphic for 2.35:1 source material the vertical stretch is nice but appears somewhat unnatural.

...But this is the part of the process that confuses me. Why would there be a need for any additional horizontal stretch when viewing 2.35:1 content on a 16:9 screen?

The anamorphic function creates a "squeezed" looking image to fill the 16x9 format, which then needs to be "unsqueezed" by an anamorphic lens upon output.

I woulda considered going for that, except a worthwhile anamorphic lens seems to cost substantially more than the Epson 6050UB itself.

I think I'll just accept the reduced light output instead for this round w/ my new 5050UB. It's not likely to be my last FP unit for the long haul anyway. I'll wait for my next FP upgrade several years from now to possibly go the anamorphic route for the long haul...

_Man_
 

Martin Dew

HTF News Editor
Reviewer
HW Reviewer
Joined
Nov 1, 2017
Messages
1,164
Location
United Kingdom
Real Name
Martin Dew
Thing is that doesn't work so well for IMAX format movies though. And not sure what to do w/ the rare ultrawide ones like Ben Hur and Hateful Eight

On my Epson, I usually watch films with IMAX sequences at 1.78:1 and just let the letterbox bars show for the 2.40:1 sequences - there's not really a easy solution. I also drop the 2.55 and 2.76 titles down to the bottom border on my scope screen, also not ideal! I've never got round to building a horizontal masking panel. Maybe that should be my next project.
 

Brian Dobbs

Ambassador
Joined
Jul 1, 2001
Messages
1,407
Location
Maryland
Real Name
Brian Dobbs
 

ManW_TheUncool

His Own Fool
Premium
Senior HTF Member
Joined
Aug 18, 2001
Messages
11,948
Location
The BK
Real Name
ManW
On my Epson, I usually watch films with IMAX sequences at 1.78:1 and just let the letterbox bars show for the 2.40:1 sequences - there's not really a easy solution. I also drop the 2.55 and 2.76 titles down to the bottom border on my scope screen, also not ideal! I've never got round to building a horizontal masking panel. Maybe that should be my next project.

So IMAX format movies look relatively small on your scope screen?

I'm wondering if I should just go w/ an extra large 16x9 screen that has the width I want maybe for 2.55:1 movies and then always use masks, except when viewing IMAX format movies -- masks even for most regular 16x9 content that don't warrant the size (and light loss). Maybe an ~135" 16x9 screen for my Epson 5050UB w/ ~13.5ft throw distance -- and maybe sit a tad closer than now (currently from ~12.5ft w/ roughly those projection sizes/distances for 2.35:1 AR movies, but unmatted)...

_Man_
 
Last edited:

JohnRice

Bounded In a Nutshell
Premium
Ambassador
HW Reviewer
Senior HTF Member
Joined
Jun 20, 2000
Messages
18,932
Location
A Mile High
Real Name
John
...But this is the part of the process that confuses me. Why would there be a need for any additional horizontal stretch when viewing 2.35:1 content on a 16:9 screen?
Remember John, this results in constant image height (CIH) which isn't practical for most home situations, but is how theaters at least used to be. I remember that moment of excitement when the trailers would end and the side curtains would start opening up for a scope movie. Marveling at how wide it wrapped around when I saw Ben-Hur in a Cinerama theater.
 
Last edited:

Sam Posten

Moderator
Premium
HW Reviewer
Senior HTF Member
Joined
Oct 30, 1997
Messages
33,713
Location
Aberdeen, MD & Navesink, NJ
Real Name
Sam Posten

i remain convinced that true 16x9 remains the great compromise as said extensively on the podcast. If someone wants to go dedicated 2.35, go for it. But there is a ton misinformation and poorly worded raves out there, much of it from people trying to sell you something. It’s an expensive choice that should not be made lightly.
 

ManW_TheUncool

His Own Fool
Premium
Senior HTF Member
Joined
Aug 18, 2001
Messages
11,948
Location
The BK
Real Name
ManW
Remember John, this results in constant image height (CIH) which isn't practical for most home situations, but is how theaters at least used to be. I remember that moment of excitement when the trailers would end and the side curtains would start opening up for a scope movie. Marveling at how wide it wrapped around then I saw Ben-Hur in a Cinerama theater.

Yeah, I actually want to do curtains for the side masks too.

_Man_
 

JohnRice

Bounded In a Nutshell
Premium
Ambassador
HW Reviewer
Senior HTF Member
Joined
Jun 20, 2000
Messages
18,932
Location
A Mile High
Real Name
John
i remain convinced that true 16x9 remains the great compromise as said extensively on the podcast.
OK, everyone sit back and savor this moment.

Ready?

I agree with Sam. Still, knowledge is typically a good thing, and at least knowing about and understanding the options can never hurt.
 

Peter Apruzzese

Senior HTF Member
Joined
Dec 20, 1999
Messages
4,905
Real Name
Peter Apruzzese
Yeah, I actually want to do curtains for the side masks too.

_Man_
I added side curtains to my 16x9 setup since I watch so many pre-1953 movies. I simply mounted a curtain rod to the ceiling and made each side curtain out of black velvet and wrapped the image edge around a piece of metal carpet transition strip to give a nice sharp edge. The panels are hung via standard rod rings. I then put a couple of rubber o-rings on the rod to mark the stop points for 1.66 and 1.37 to make it easy to position the edges. I do want to change out the standard rod for a center-opening traverse rod so both sides open and close together.
 

John Dirk

Premium
Ambassador
HW Reviewer
Senior HTF Member
Joined
May 7, 2000
Messages
6,744
Location
ATL
Real Name
JOHN
I added side curtains to my 16x9 setup since I watch so many pre-1953 movies. I simply mounted a curtain rod to the ceiling and made each side curtain out of black velvet and wrapped the image edge around a piece of metal carpet transition strip to give a nice sharp edge. The panels are hung via standard rod rings. I then put a couple of rubber o-rings on the rod to mark the stop points for 1.66 and 1.37 to make it easy to position the edges. I do want to change out the standard rod for a center-opening traverse rod so both sides open and close together.

Interesting. Would you mind posting a picture?
 
  • Like
Reactions: PMF

John Dirk

Premium
Ambassador
HW Reviewer
Senior HTF Member
Joined
May 7, 2000
Messages
6,744
Location
ATL
Real Name
JOHN
The anamorphic function creates a "squeezed" looking image to fill the 16x9 format, which then needs to be "unsqueezed" by an anamorphic lens upon output.

OK - maybe I'm getting it. You're basically saying the anamorphic lens will make the image displayed by the Epson's Anamorphic setting look natural while still filling my 16x9 screen?

I woulda considered going for that, except a worthwhile anamorphic lens seems to cost substantially more than the Epson 6050UB itself.

Exactly, and why is that? Is it because they aren't sold in sufficient quantity to drive the price down?
 

Josh Steinberg

Premium
Reviewer
Senior HTF Member
Joined
Jun 10, 2003
Messages
26,360
Real Name
Josh Steinberg
OK - maybe I'm getting it. You're basically saying the anamorphic lens will make the image displayed by the Epson's Anamorphic setting look natural while still filling my 16x9 screen?

Nope, that’s not it.

Basically, when you use an anamorphic lens, you do two things. The first is you have your disc player or another image processor take a letterboxed 16x9 image and crop out the black bars that are normally used to fit a 2.40:1 movie into a 16x9 format. Now you have a frame that’s wider than 16x9 but without the black bars in the frame. This is then squeezed back into a 16x9 frame.

Then, the lens on the projector unsqueezes that image during projection back to a wider than 16x9 frame. But the projector isn’t projecting black bars, just the image. So more of the projectors pixels are illuminating the image onscreen. However, there isn’t any additional information from the source, so you’re not really getting a sharper or more detailed image, just the illusion of one.

In the end, you’re getting the same visual information, but you’ve just spent thousands of dollars on a lens attachment so that the black bars on a 2.40:1 image are cropped our before projection rather than during projection.

Or, you do as most people do with 2.40:1 screens, and just adjust the zoom/lens memory on the projector.

There used to be more of a benefit to doing this when projector optics weren’t as good on the consumer level as they are now. It used to be that an anamorphic lens would look a lot better than a built in slight zoom, but that’s not really the case anymore.
 
Most Popular