mpompey
HW Reviewer
- Joined
- Mar 17, 2009
- Messages
- 70
- Real Name
- Michael Pompey
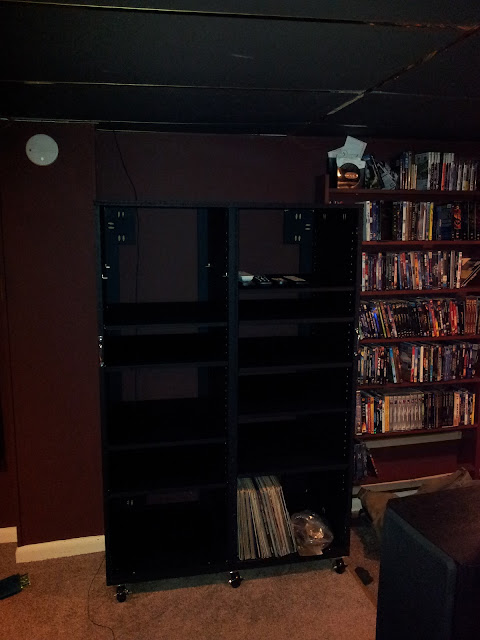
While the site was down I started building a custom made component cabinet for myself. I kept a log of the six day project and photos of my progress.
I've been wanting to build a new component cabinet for some time now.
My dream cabinet would be a Sanus CFR2136:

But at $1,100 it is just way too out of my budget. My current
cabinet is a TechCraft 60 in that I have had for about 8 years
or so.
As you can see it's getting long in the tooth, not to mention
it doesn't hold all my gear. Consoles stacked on the
top and over my turntable. Not to mention I actually
have a tape deck, Network Switch, & HTPC that I would
like to get into the new cabinet as well. Like my old
DVD racks I figured I could build me an upgrade./
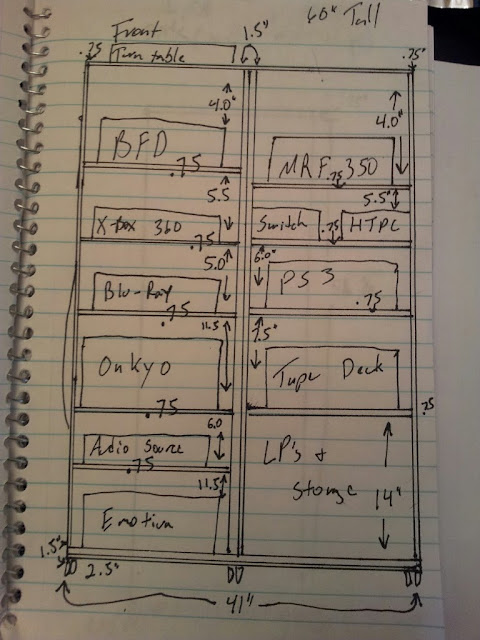
Here is a pic of a rough design of the new cabinet
I want to build.
I would like it not only to store all
of my gear, but even have some room at the bottom
for vinyl, remote controls, etc. As well as have
room on top for my turntable. In addition I would
like to be able to have adjustable shelves. For
easier customization in the event that I need to move
items around. My current rack didn't ship with enough
shelves so I've had to make do, per the images above.
I was originally going to go the Flexy route but the
cost of the threaded rod was killing me. Someone
proposed that I build it out of wood to keep the cost
down. I'm no wood worker, I have a low-end Ryobi miter,
a Crafstman circular saw, and a 20 year old Black & Decker
Jigsaw that I found while skipping school way back in
High School
I have no idea how long it will take me to finish this,
but I figured I could take my time, document the journey
and post it up for everyone to see. So with that in mind,
enjoy the build...
My helpers while at Lowes. Come to think of it, I think
the only reason they came with me was so they could
stay up late Friday night!
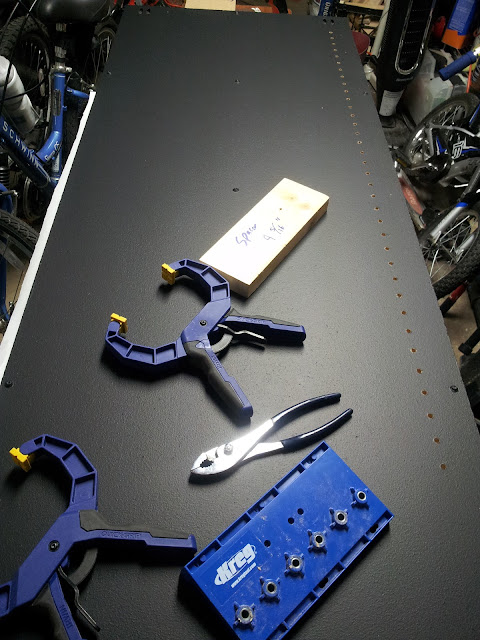
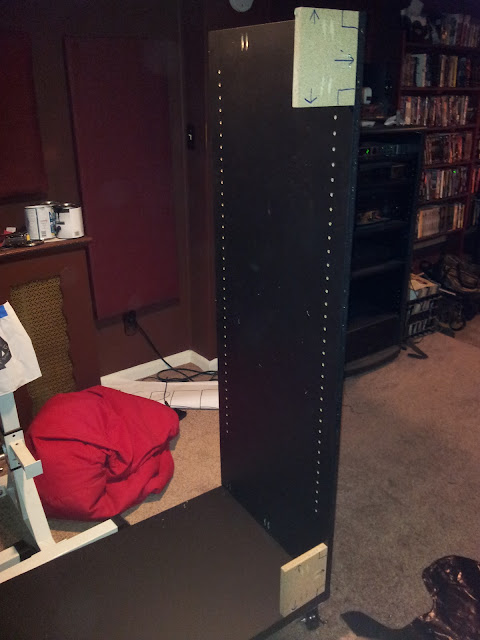
I figured I will have to build this in 3 stages: Bottom & Top/ Sides & Middle/ Shelves.
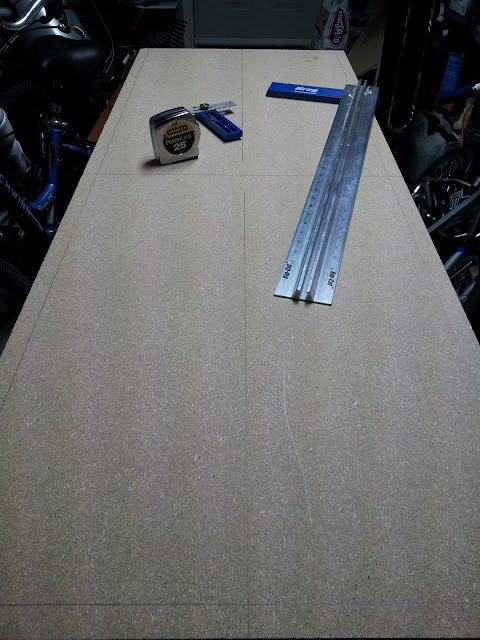
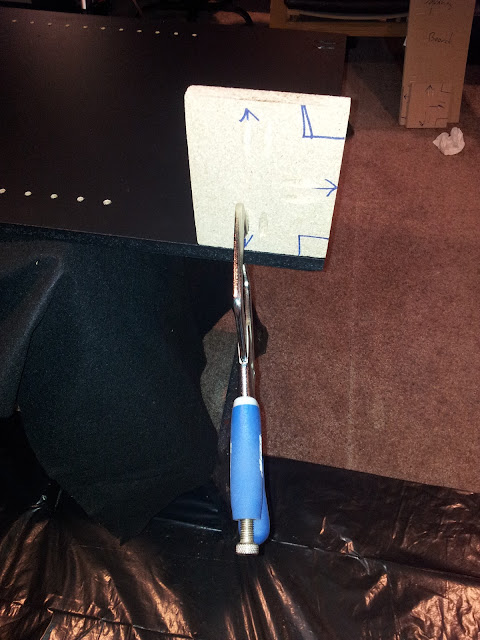
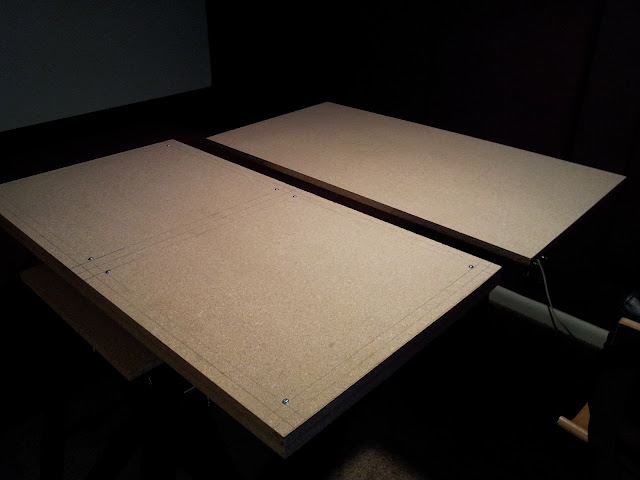
Here is the paper layout for the bottom and top pieces. I'm making the bottom double thick
to hold the weight of not just to components but the wood itself. I originally was going for
MDF but Lowes won't cut MDF and I don't have a table saw to rip it myself. My skills with
the Kreg RIP cut need to improve a bit before I'm willing to bring a full sheet of plywood home
and rip it myself. I'll trim it when I get it home though.
Day 2
Cutting the pieces for the bottom and top:
Gluing and clamping the bottom pieces:
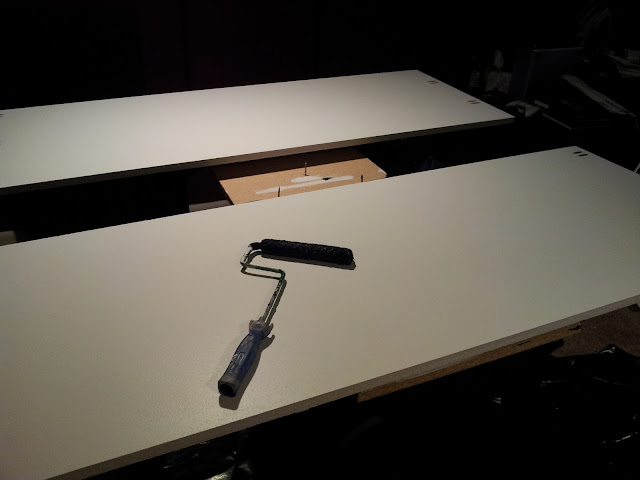
Made a painting jig out of some scrap wood and cabinet screws to hold the pieces up while
I paint them:
Picture of the bottom and top pieces on top of the jig. I drilled in some screws in addition to
the wood glue to made sure the bottom piece was solid.
Wood getting first coat of primer:
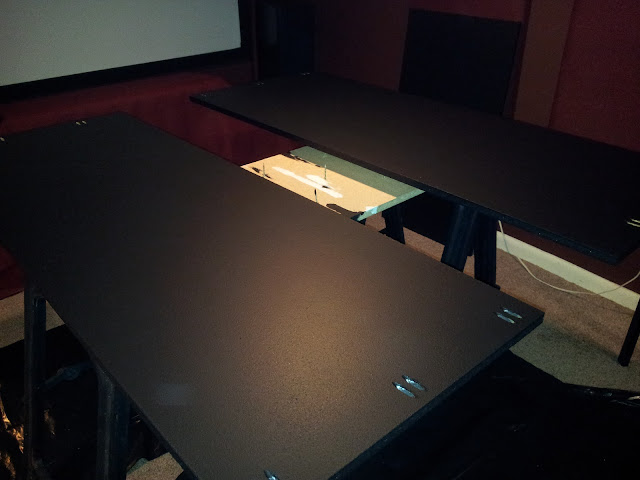
After 3 coats of primer:
First coat of flat black:
I've been wanting to build a new component cabinet for some time now.
My dream cabinet would be a Sanus CFR2136:

But at $1,100 it is just way too out of my budget. My current
cabinet is a TechCraft 60 in that I have had for about 8 years
or so.

As you can see it's getting long in the tooth, not to mention
it doesn't hold all my gear. Consoles stacked on the
top and over my turntable. Not to mention I actually
have a tape deck, Network Switch, & HTPC that I would
like to get into the new cabinet as well. Like my old
DVD racks I figured I could build me an upgrade./
Here is a pic of a rough design of the new cabinet
I want to build.
I would like it not only to store all
of my gear, but even have some room at the bottom
for vinyl, remote controls, etc. As well as have
room on top for my turntable. In addition I would
like to be able to have adjustable shelves. For
easier customization in the event that I need to move
items around. My current rack didn't ship with enough
shelves so I've had to make do, per the images above.
I was originally going to go the Flexy route but the
cost of the threaded rod was killing me. Someone
proposed that I build it out of wood to keep the cost
down. I'm no wood worker, I have a low-end Ryobi miter,
a Crafstman circular saw, and a 20 year old Black & Decker
Jigsaw that I found while skipping school way back in
High School
I have no idea how long it will take me to finish this,
but I figured I could take my time, document the journey
and post it up for everyone to see. So with that in mind,
enjoy the build...
My helpers while at Lowes. Come to think of it, I think
the only reason they came with me was so they could
stay up late Friday night!

I figured I will have to build this in 3 stages: Bottom & Top/ Sides & Middle/ Shelves.
Here is the paper layout for the bottom and top pieces. I'm making the bottom double thick
to hold the weight of not just to components but the wood itself. I originally was going for
MDF but Lowes won't cut MDF and I don't have a table saw to rip it myself. My skills with
the Kreg RIP cut need to improve a bit before I'm willing to bring a full sheet of plywood home
and rip it myself. I'll trim it when I get it home though.

Day 2
Cutting the pieces for the bottom and top:

Gluing and clamping the bottom pieces:

Made a painting jig out of some scrap wood and cabinet screws to hold the pieces up while
I paint them:

Picture of the bottom and top pieces on top of the jig. I drilled in some screws in addition to
the wood glue to made sure the bottom piece was solid.
Wood getting first coat of primer:

After 3 coats of primer:

First coat of flat black: